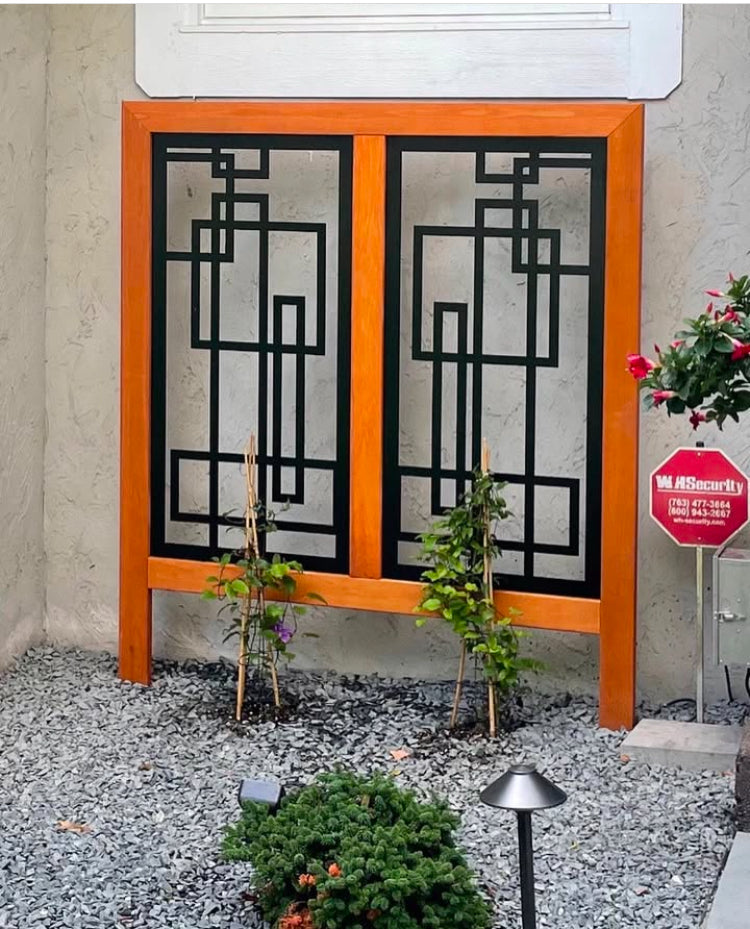
How to build a wooden frame around a Metal insert(without glue)
Building a wooden frame around a metal insert without using glue is a straightforward process that involves measuring, cutting, and securing the wood with mechanical fasteners like screws or nails. Here’s a step-by-step guide:
Materials Needed:
-
Wooden boards (size depends on your project)
-
Metal insert (the object you want to frame)
-
Measuring tape
-
Saw (hand saw, miter saw, or circular saw)
-
Sandpaper
-
Screws or nails
-
Drill or hammer
-
Clamps (optional but helpful)
-
Wood stain or paint (optional)
Steps:
1. Measure the Metal Insert
-
Measure the length, width, and thickness of the metal insert.
-
Decide how much overlap you want the wooden frame to have around the metal insert.
2. Cut the Wooden Pieces
-
Cut four pieces of wood to create the frame:
-
Two pieces for the top and bottom (longer sides).
-
Two pieces for the sides (shorter sides).
-
-
Use a saw to cut the wood at 45-degree angles at the ends if you want a mitered corner for a cleaner look. Alternatively, you can cut them at 90-degree angles for a simpler butt joint.
3. Sand the Wood
-
Sand the edges and surfaces of the wooden pieces to remove splinters and rough spots.
4. Dry Fit the Frame
-
Place the wooden pieces around the metal insert to ensure they fit properly.
-
Adjust the cuts if necessary.
5. Secure the Frame
-
Use clamps to hold the wooden pieces in place around the metal insert.
-
Drill pilot holes through the wood where you plan to insert screws or nails. This prevents the wood from splitting.
-
Attach the wooden pieces together using screws or nails. If using screws, drill them in at an angle (toe-screwing) for a stronger hold.
6. Attach the Frame to the Metal Insert
-
If the metal insert has pre-drilled holes, align the wooden frame and secure it using screws or bolts.
-
If there are no holes, you can use metal brackets or straps to hold the frame in place around the metal insert.
7. Finish the Frame (Optional)
-
Sand any rough areas after assembly.
-
Apply wood stain, paint, or a protective finish if desired.
Tips:
-
Use a square tool to ensure the corners are at 90 degrees for a professional look.
-
If the frame feels loose, add additional screws or brackets for stability.
-
For a decorative touch, consider using wood dowels or decorative nails.
By following these steps, you can create a sturdy wooden frame around a metal insert without the need for glue!
Hiring a Carpenter or Handyman
If you’re not confident in your DIY skills or don’t have the necessary tools, you can hire a professional carpenter or handyman to help. They have the experience and tools to build the frame and attach the metal insert quickly and efficiently. You can find local carpenters or handymen through online platforms, recommendations from friends, or local directories. Be sure to discuss your project in detail and agree on a price before starting the work. This option saves time and ensures a high-quality result.
